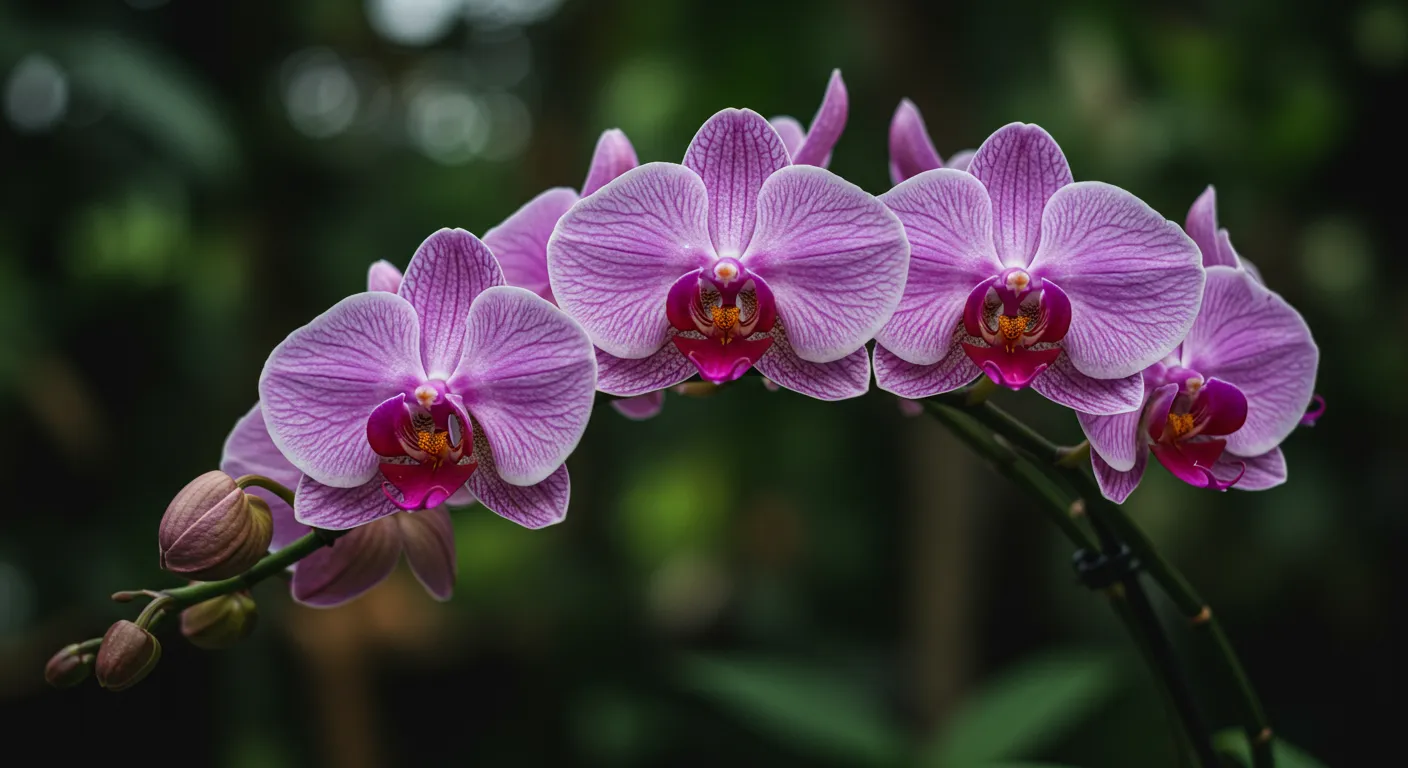
Orchid in Bloom? Here’s How to Actually Keep It That Way
Most people kill their orchid blooms with kindness. The second those first flowers open, they start fussing moving the plant to show it off, feeding it more, misting the petals. I did every single one of those things with my first Phalaenopsis back in 2014, and watched every bud drop within a week. The hard truth about caring for orchids while blooming is that your orchid doesn’t need more from you right now. It needs less, and it needs consistency. Once I stopped “helping” so aggressively, my blooms started lasting three to four months instead of three to four weeks.
What’s Actually Happening Inside Your Orchid Right Now
When your orchid is in full bloom, it has essentially shifted into performance mode. It’s not growing new roots or leaves it’s burning through stored energy to keep those flowers open. Think of it like a long-distance runner mid-race: this isn’t the moment to change the route or hand them a heavy backpack.
One thing most guides skip over: the spike development phase (before flowers open) is actually more fragile than the blooming phase itself. I’ve had spikes abort entirely from something as simple as rotating the pot a quarter turn toward the window. Orchids orient to their light source during spike development, and disrupting that orientation mid-process can confuse the plant enough to drop the whole spike. So if you notice a spike emerging, find your spot and leave it completely alone.
Once flowers are open, the plant is more forgiving but it still hates surprises. Sudden temperature drops, drafts, a move to a new room any of these can trigger what’s called bud blast, where unopened buds shrivel and fall off before they ever get to open. It’s heartbreaking, and almost always avoidable.
Light and Location: Pick a Spot and Commit
Bright, indirect light is the standard advice, and it’s correct but the consistency part is what nobody emphasizes enough. Your orchid needs to stay in the same spot for the entire bloom cycle. I know it’s tempting to move it to the dining table as a centerpiece, but even a few days on a darker surface can stress the plant.
An east-facing windowsill is my go-to for blooming orchids. You get soft morning light with no harsh afternoon sun hitting the petals. South or west windows can work if you’ve got a sheer curtain filtering the light direct sun on open flowers will bleach and spot them within days.
Here’s the non-obvious part: leaf color is your best feedback tool. A healthy, well-lit orchid has leaves that are a medium, slightly yellow-green. Dark, glossy green leaves look lush but actually mean the plant is light-starved and running low on the energy it needs to sustain flowers. If your leaves are very dark, nudge the plant closer to the window just do it gradually, over a week or two.
Watering During Bloom: The Rule I Follow Without Exception
I water my blooming orchids with the “lift test.” Bark-based orchid mix is heavy when wet and noticeably lighter when dry. Pick up the pot if it feels light, water thoroughly until it drains out the bottom. If it still has some weight, leave it alone for another few days. This one habit has done more for my orchid health than any product or schedule.
The classic rookie mistake is watering on a fixed schedule say, every Sunday regardless of what the plant actually needs. In winter when my house is dry and warm, my orchids might need water every five days. In humid summer months, sometimes it’s ten. The schedule approach is what gets people into trouble with root rot.
One firm rule: never get water on the flowers or buds. Spotted petals are almost always from water droplets sitting on the surface. I water mine in the sink, let them drain for 20 minutes, and set them back on their tray flowers completely dry. I use a simple plastic nursery pot inside a decorative cachepot, which makes this routine much easier.
What About Humidity?
Tropical orchids like Phalaenopsis prefer 50–70% humidity. Most homes run at 30–40%, especially in winter with central heating running. This gap is one of the main reasons buds blast before they open.
I don’t run a humidifier just for my orchids I keep a LEVOIT compact humidifier in my plant room, which houses about 40 plants, and it handles everything at once. If you’ve only got one or two orchids, a pebble tray works surprisingly well: fill a shallow tray with gravel, add water just below the surface of the pebbles, and set the pot on top. The evaporation around the pot creates a small humidity buffer. Just make sure the pot isn’t sitting in the water that’s a fast track to root rot.
Feeding While Flowers Are Open (Less Than You Think)
Here’s something that surprised me when I first learned it: once your orchid’s flowers are fully open, you should either stop fertilizing completely or drop to a very diluted dose once a month at most. The plant has already done the biochemical work to produce these flowers. Pushing more fertilizer now doesn’t extend the blooms it can actually shorten them by stimulating the plant to push energy toward growth instead of maintaining flowers.
I use Espoma Orchid! liquid fertilizer at quarter strength during the pre-bloom phase when the spike is developing. Once the first flower opens, I stop entirely and don’t resume until the last bloom has dropped and I can see new root or leaf growth starting.
The one exception: if you’re growing Cymbidium orchids, which are heavier feeders than Phalaenopsis, a very diluted balanced fertilizer every few weeks through bloom is generally fine. But for the moth orchids most people have on their windowsills, restraint is the right call.
Temperature Swings Are the Hidden Bloom Killer
Orchids in flower want a stable range of roughly 65–80°F (18–27°C) during the day. What matters even more than the absolute temperature is the consistency. I lost an entire flower spike once by leaving a window cracked on an unexpectedly cold night the temperature in that corner of the room dropped about 15 degrees over a few hours, and the spike yellowed and collapsed within two days.
Watch out for these common temperature traps:
- Heating and AC vents directly below or beside the plant: These blast hot or cold air repeatedly throughout the day, creating micro-climate chaos that the plant reads as environmental stress. Even if average temps seem fine, the fluctuation is the problem.
- Cold windowpanes in winter: The air right at the glass can be significantly colder than the room temperature. If leaves or flowers are touching the glass, move the pot back an inch or two.
- Proximity to ripening fruit: This one catches people off guard. Bananas, apples, and pears release ethylene gas as they ripen a natural plant hormone that accelerates aging. Keeping a blooming orchid next to a fruit bowl can cause flowers to wilt and drop in under 48 hours. I learned this the embarrassing way.
When Buds Drop Before They Open
Bud blast where buds shrivel and fall off without ever opening is one of the most frustrating things that happens with orchids in bloom. Nine times out of ten, it comes down to one of three things: a sudden environmental shift, inconsistent watering, or low humidity.
Run through this quick mental checklist before assuming something is seriously wrong:
- Did the plant move recently? Even shifting it a few feet to a different light exposure during spike development can abort buds. If it moved, put it back and give it a week.
- Is the potting mix bone dry? Water stress during bud development causes blast. Check the medium if it’s completely dry and the pot is very light, water thoroughly and watch for recovery.
- Is the air very dry? In heated homes in winter, humidity can drop to 20–30%. At that level, bud blast is almost inevitable. A pebble tray or humidifier will help immediately.
- Any nearby ethylene sources? Fruit bowl, vase of flowers starting to fade, or even a gas stove all produce ethylene. Distance the orchid from any of these.
- Recent fertilizer application? Over-fertilizing during bloom stresses the root system, which can trigger bud drop as the plant redirects resources.
If you’ve addressed all of the above and still losing buds, check the roots. Carefully lift the plant from its pot and look for brown, mushy root tissue root rot silently disrupts the plant’s ability to take up water and can cause bud blast even when the surface looks fine.
What to Do When the Last Flower Falls
Once blooming is over, you have a choice to make about the spike and what you do here genuinely matters for whether you’ll see flowers again.
If the spike has gone yellow or brown and is drying out, cut it cleanly at the base with sterilized scissors. Leaving dead spikes on the plant doesn’t do any good, and can sometimes invite rot if moisture collects around the base.
If you have a Phalaenopsis and the spike is still green and firm after all flowers drop, you have the option to try for a secondary bloom. Find the nodes small, triangular bumps spaced along the spike and cut about an inch above the second or third node from the bottom of the spike. In good conditions, this node can produce a short secondary spike with more flowers within six to eight weeks. It’s not guaranteed, and the secondary bloom is usually smaller than the first, but it’s worth trying before cutting all the way back.
The Rest Period Matters More Than People Realize
After blooming, your orchid enters a slower phase where it rebuilds energy. This is not the time to push it. Reduce watering frequency let the potting medium dry out more thoroughly between waterings than you did during bloom. Hold off on fertilizer entirely until you see active new growth: a new leaf pushing, new root tips extending.
If you want to encourage a new bloom cycle for a Phalaenopsis, the most reliable method is a temperature drop at night. Move the plant somewhere that gets about 10°F cooler than its daytime environment for four to six weeks a cool room, near a window in autumn. This temperature differential signals the plant to initiate a new spike. It’s the same mechanism that happens in their native habitat as seasons shift.
For a deeper look at what comes after the bloom repotting timing, fertilizer switching, and coaxing that next spike my guide on caring for orchids indoors year-round covers the full cycle in detail.
Yellowing Leaves During Bloom: When to Worry and When to Relax
A single yellowing leaf at the very bottom of the plant the oldest one is almost always normal. Orchids regularly shed their oldest leaves as part of healthy growth, and it often happens during or right after bloom when the plant is reallocating energy. If that’s what you’re seeing, remove the leaf cleanly once it’s fully yellow and move on.
Multiple yellowing leaves, or yellowing in newer foliage, is a different story. That almost always points to root problems. The symptoms above soil yellow leaves, limp or wrinkled texture are the last thing to show up. By the time you see them, root damage has usually been happening for weeks. Slide the plant out of its pot, inspect the roots, and remove any brown or mushy tissue with sterilized scissors before repotting into fresh bark mix.
The One Thing to Focus On
If you only take one thing from all of this: stop moving your orchid. Find a bright, indirect spot away from vents and drafts, put it there before the spike develops, and leave it completely alone except for watering. More orchid blooms are lost to well-meaning repositioning than to neglect. Stability is the single most underrated factor in keeping those flowers open for the long haul and it costs you absolutely nothing.
