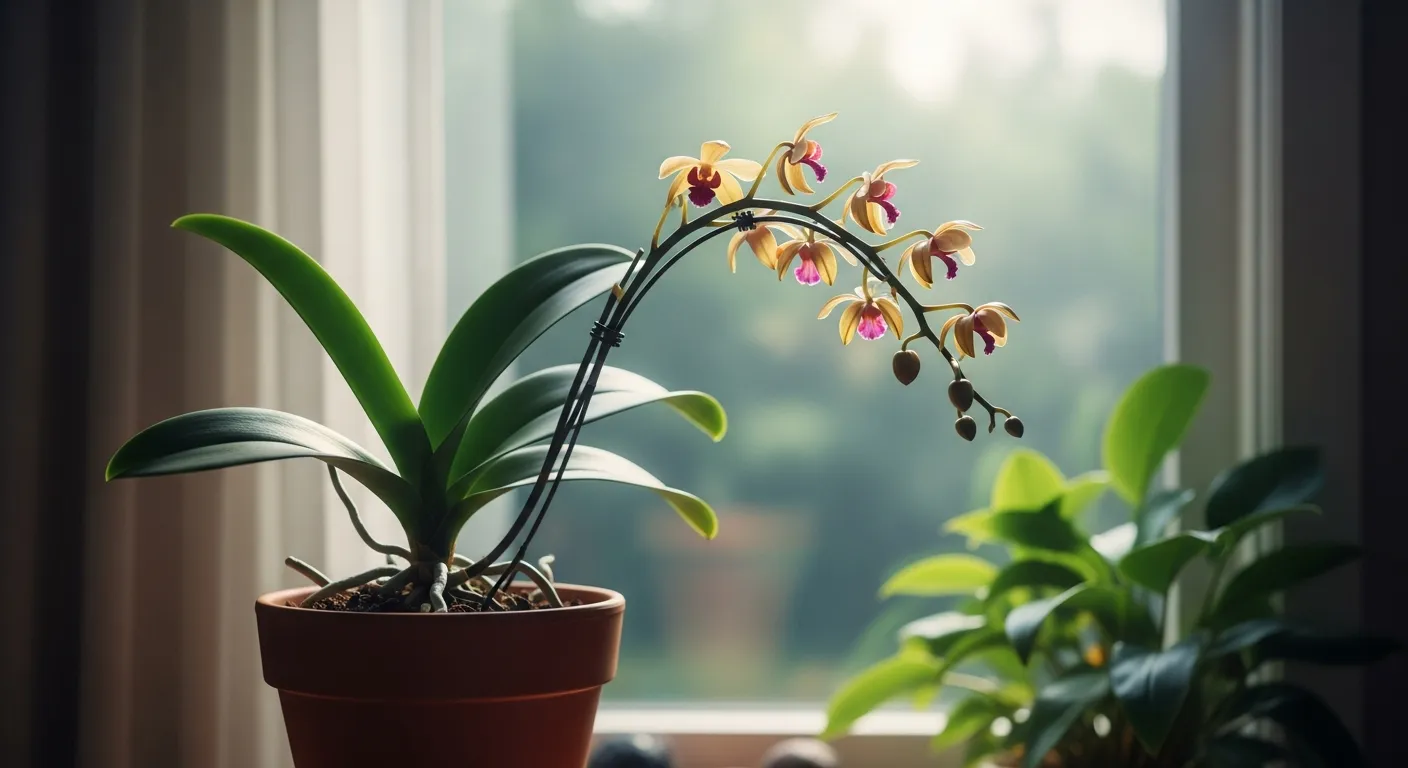
What to Do With Your Orchid After It Stops Blooming (The Honest Guide)
Most people are doing the opposite of what their orchid needs after blooming and I was the worst offender. When my first Phalaenopsis dropped its flowers, I panicked and started watering it more, moving it around, and even gave it a dose of fertilizer to “help it recover.” Within three weeks, the roots were soft and brown. I’d essentially smothered a perfectly healthy plant that just wanted to rest. Here’s what I wish someone had told me back then: the post-bloom period is when orchids are the easiest to kill through good intentions.
What’s Actually Happening Inside Your Orchid Right Now
The moment that last flower falls, your orchid shifts gears completely. Blooming is metabolically expensive the plant has been burning through its stored energy for weeks, sometimes months. What follows isn’t decline; it’s recovery. The orchid redirects everything it has into rebuilding: growing new roots, strengthening existing leaves, and stockpiling energy for the next flowering cycle.
Here’s the counterintuitive part: a flowerless orchid isn’t a struggling orchid. In fact, a plant that looks “boring” and is just sitting there quietly is often doing exactly what it should. The worst thing you can do is interpret stillness as a problem and start changing things. That’s where most people, including past-me, go wrong.
The Life Cycle That Explains Everything
Wild Phalaenopsis orchids the classic type sold in grocery stores and garden centres grow attached to tree bark in humid Asian rainforests. They’re not rooted in soil; they’re clinging on, absorbing moisture from the air and nutrients from rainwater runoff. Their bloom cycle is triggered by seasonal changes in temperature and light. After flowering, they enter a vegetative phase where they quietly build mass and root systems before the next trigger arrives.
In your living room, that same biology is still running. Your orchid is not confused about being indoors. It’s still following its internal programme which means your job is to provide the right cues at the right times, not to intervene constantly.
The Spike Decision: Cut It or Keep It?
The flower spike that long green stem your blooms were attached to is the first thing you need to deal with. And the right move depends entirely on what the spike looks like right now.
Run your fingers along it. If it’s still green and firm, don’t cut it yet. A healthy green spike on a Phalaenopsis can branch from one of its nodes those small triangular bumps along the stem and produce another flush of flowers. This doesn’t always happen, but it’s worth leaving the spike intact for four to six weeks to see if a side shoot develops. I’ve had the same spike on one of my plants produce a second branch of eight flowers about two months after the first bloomed out. That felt like finding money in an old coat.
If the spike is yellowing, drying out, or has turned brown and papery, it’s done. Cut it cleanly about an inch above the base using sterilised scissors wipe the blades with rubbing alcohol first. I use 70% isopropyl, which you can find cheaply anywhere. Once you’ve made the cut, I dust the wound with ground cinnamon. It sounds like something your grandmother would suggest, but cinnamon has genuine antifungal properties and creates a dry barrier while the cut heals.
How Other Orchid Types Handle Their Spikes
If you’re growing something other than a Phalaenopsis, the rules change. Dendrobium and Cymbidium orchids bloom from new pseudobulbs the thickened cane-like or bulb-like growths at the base. Once those flower spikes are spent, they won’t produce again from the same spot. Cut them all the way back to the base as soon as they’ve browned, so the plant can focus on building new pseudobulbs for the next season’s blooms. There’s no benefit in holding on to an old spent spike with these types.
Watering and Feeding After the Flowers Drop
This is where I see the most damage done to orchids post-bloom: people keep watering on the same schedule, or they water more because they’re worried about the plant. A resting orchid doesn’t need as much moisture. With no flowers to support and growth slowing down, the roots absorb water much more slowly which means the potting medium stays wet for longer, and wet roots that can’t breathe start to rot.
The method I swear by is the lift test. Before I water any of my orchids, I pick up the pot. A dry pot feels almost weightless. A pot that still has moisture in the bark or moss feels noticeably heavier. I only water when the pot feels light and the roots visible through the clear plastic pot have turned silvery-white rather than green. That combination tells me the plant is genuinely thirsty. When I do water, I take the pot to the sink, soak it thoroughly, let it drain completely, and then put it back. I use a standard clear plastic nursery pot inside a decorative cache pot for exactly this reason it makes checking roots effortless.
Fertiliser: Stop Now, Resume Later
Cut fertiliser completely once blooming is finished. A resting plant can’t process the nutrients, and the mineral salts from unused fertiliser accumulate in the potting medium and damage the root tips over time. I made this mistake with a beautiful mature plant in my collection kept feeding it through dormancy because I thought I was helping. When I finally repotted it a year later, the root tips were brown and crispy from salt burn.
You’ll know when to resume feeding: wait until you see a new leaf emerging from the crown, or a fresh root tip with that bright green growing point. That’s the orchid telling you it’s out of rest mode. Start back with a diluted balanced fertiliser I use Miracle-Gro Orchid Plant Food at half the recommended strength applied every two weeks. Once the plant has a few new leaves and you’re heading into the season when spikes typically form, switch to a bloom booster with higher phosphorus (the middle number on the fertiliser ratio, like a 10-30-20). That phosphorus nudge helps encourage spike initiation.
Getting the Environment Right to Trigger Reblooming
Healthy care keeps your orchid alive. The right environmental cues are what actually get it to flower again. There’s a specific temperature trick that most beginner growers don’t know about, and it’s probably the single most effective thing you can do to encourage a new spike.
Phalaenopsis orchids need a drop in nighttime temperature roughly 10 to 15°F (5 to 8°C) cooler than the daytime high sustained over two to four weeks to trigger spike production. In their natural habitat, this temperature fluctuation signals the end of the growing season and the approach of blooming season. You can replicate this indoors in autumn by moving your orchid closer to a cool window at night, or simply leaving it near a slightly draughty sill. You don’t need to take it outside or do anything dramatic. A few weeks of cooler nights is usually enough.
Light: What “Bright Indirect” Actually Means
Orchids need more light than most people give them. “Bright indirect light” gets thrown around a lot, but in practice, it means an east-facing windowsill or a spot a foot back from a south or west-facing window with a sheer curtain to cut the intensity. A common mistake is putting orchids too deep into a room, where the light level is genuinely low.
Your orchid’s leaves are the most reliable indicator. Healthy, light-receiving leaves are a medium olive green not dark, not yellow. Dark green leaves mean the plant is straining to absorb whatever light it can find; it needs to move closer to a window. Yellowing or reddish-tinted leaves usually mean too much direct sun. I repositioned a plant I’d kept on a bookshelf for nearly a year and it threw up a new spike within eight weeks of moving it to a brighter spot. That taught me more than any article did.
Humidity Without Overcomplicating It
Orchids come from humid environments. Most homes, especially in winter with heating running, are quite dry often below 30% humidity, which is uncomfortable for the plant. Aim for 50 to 60% if you can. A few practical ways to get there:
- Pebble tray method: Place the pot on a shallow tray filled with pebbles and water, making sure the pot sits above the waterline. As the water evaporates, it raises the humidity immediately around the plant cheap, passive, and genuinely effective.
- Group your plants: Plants transpire moisture through their leaves, so clustering several together creates a more humid microclimate. I have a shelf of about fifteen orchids and the humidity around that shelf reads notably higher than the rest of the room on my hygrometer.
- Small humidifier: If you’re serious about your collection, a compact ultrasonic humidifier near your plants is the most consistent solution. I run one in my sunroom grow area from October through March and my orchids (and my sinuses) are noticeably happier for it.
Repotting: When It’s Needed and How to Do It Without Drama
Right after blooming is actually the best window to repot an orchid the plant is shifting into vegetative growth, which means it’s primed to push new roots. Repotting during this transition gives those new roots fresh, airy medium to grow into rather than the degraded, compacted mess that bark becomes after a year or two of use.
You don’t need to repot on a fixed schedule, but you should repot when you see any of these signs:
- Roots escaping over the rim: A thick tangle of roots crawling up and out of the pot means the plant has outgrown its current home and the medium below is likely exhausted.
- The bark has turned to mush: Fresh orchid bark is chunky and coarse. Over 18 to 24 months it breaks down into a dense, compacted mass that holds moisture too long and suffocates roots you need to change it regardless of pot size.
- Mushy brown roots visible through the pot: If you can see rot from the outside, the situation inside is worse. Get it out and into fresh medium immediately.
How to Actually Repot Without Stressing the Plant
Choose a pot only one size larger than the current one orchids actually perform better slightly root-bound than in an oversized pot where moisture sits around sparse roots. Clear plastic nursery pots are ideal because you can monitor root health without disturbing the plant.
Remove the plant gently, shake off all the old bark, and rinse the roots under lukewarm water. Then comes the important part: take sterilised scissors and cut off every root that is brown, hollow, or mushy. Healthy roots are firm green when wet, silvery-white when dry. Don’t be squeamish about removing dead roots; leaving them in the pot creates rot that spreads to the healthy ones. Once trimmed, let the roots air-dry for 20 minutes before settling the plant into fresh orchid bark. Wait five to seven days before watering to let any cut surfaces callus over.
Troubleshooting the Most Common Post-Bloom Problems
Even when you’re doing everything right, orchids can throw you a curveball. Here are the issues I see and get asked about most often.
Yellow Leaves: Normal vs. a Warning Sign
One yellowing leaf at the very bottom of the plant the oldest, lowest leaf is completely normal post-bloom. The plant is shedding old tissue to redirect resources to new growth. Don’t panic; just let it drop naturally or remove it once it’s fully yellow.
Multiple yellowing leaves, or yellow appearing on newer growth, is a different story. That pattern almost always points to overwatering and root rot. Pull the plant out of its pot and check the roots. If they’re soft and brown, you need to trim the damage and repot into fresh, dry bark immediately. Cut back watering drastically afterwards and let the medium get quite dry between sessions while the plant recovers.
Why Your Orchid Won’t Rebloom
A healthy-looking orchid that refuses to spike is usually missing one specific trigger. Work through this checklist before assuming something is seriously wrong:
- Not enough light: Move the plant closer to a window. Dark green leaves are a tell the plant is light-starved. Try an east-facing sill or a south-facing window with a sheer curtain for two months and see if anything changes.
- No temperature drop at night: If your home stays at the same temperature day and night, the orchid won’t receive the seasonal cue it needs. Cooler nights near a window in autumn even a modest 10°F drop can be the thing that breaks the stalemate.
- Still in dormancy: Sometimes the plant is just not ready yet, especially if it bloomed for a long time. Give it another month or two of good care before worrying.
- Fertiliser imbalance: Too much nitrogen feeds leaf growth at the expense of flowers. If you’ve been using a general houseplant fertiliser rather than one formulated for orchids, switch to a bloom-promoting formula with higher phosphorus.
Pests During the Quiet Months
The post-bloom rest period is when pests tend to establish themselves, because you’re not inspecting the flowers daily and may handle the plant less. Check the undersides of leaves and the junction where leaves meet the stem every time you water. Mealybugs show up as small cottony white clusters; scale looks like tiny brown bumps stuck to the stems. For small infestations, a cotton swab dipped in 70% isopropyl alcohol applied directly to the pest is effective and safe for the plant. Catch them early and they’re a minor nuisance; leave them and they’ll weaken the plant significantly before it can rebloom.
What to Expect and When
For a healthy, mature Phalaenopsis, the realistic timeline from last flower to new spike is somewhere between six and twelve months. That range is wide, I know but it depends on how well the plant rested, how consistently you provided light and temperature cues, and how the plant’s overall health held up. Younger plants or recently repotted ones may take longer as they establish.
The moment you spot a small, pointed nub emerging from the base of a leaf slightly flattened compared to a round root tip that’s your new spike. It’s one of the best feelings in plant keeping. From that point, expect another two to three months before you see open flowers.
If you want to set yourself up for the repotting process properly, our guide on understanding orchid roots and pseudobulbs goes deeper on what healthy root systems look like and how to support them through each growth stage.
The single most useful thing you can do starting today: stop treating your post-bloom orchid like something that needs rescuing. Reduce watering, put the fertiliser away, get it near a bright window, and let it rest. The plants I’ve neglected appropriately have consistently outbloomed the ones I’ve fussed over. Trust the process and the flowers will come back.
