Young Monstera Deliciosa Care: What Nobody Tells You About the Early Months
Most people who kill a young Monstera deliciosa don’t do it through neglect they do it with love. I know because I drowned three of them in my first year of collecting plants before I understood what a juvenile Monstera actually needs. The problem isn’t care frequency; it’s that baby Monsteras have much smaller root systems than mature ones, and they suffocate in soggy soil embarrassingly fast. If your little guy is sitting in dense potting mix and getting watered on a schedule, that’s almost certainly your issue right now.
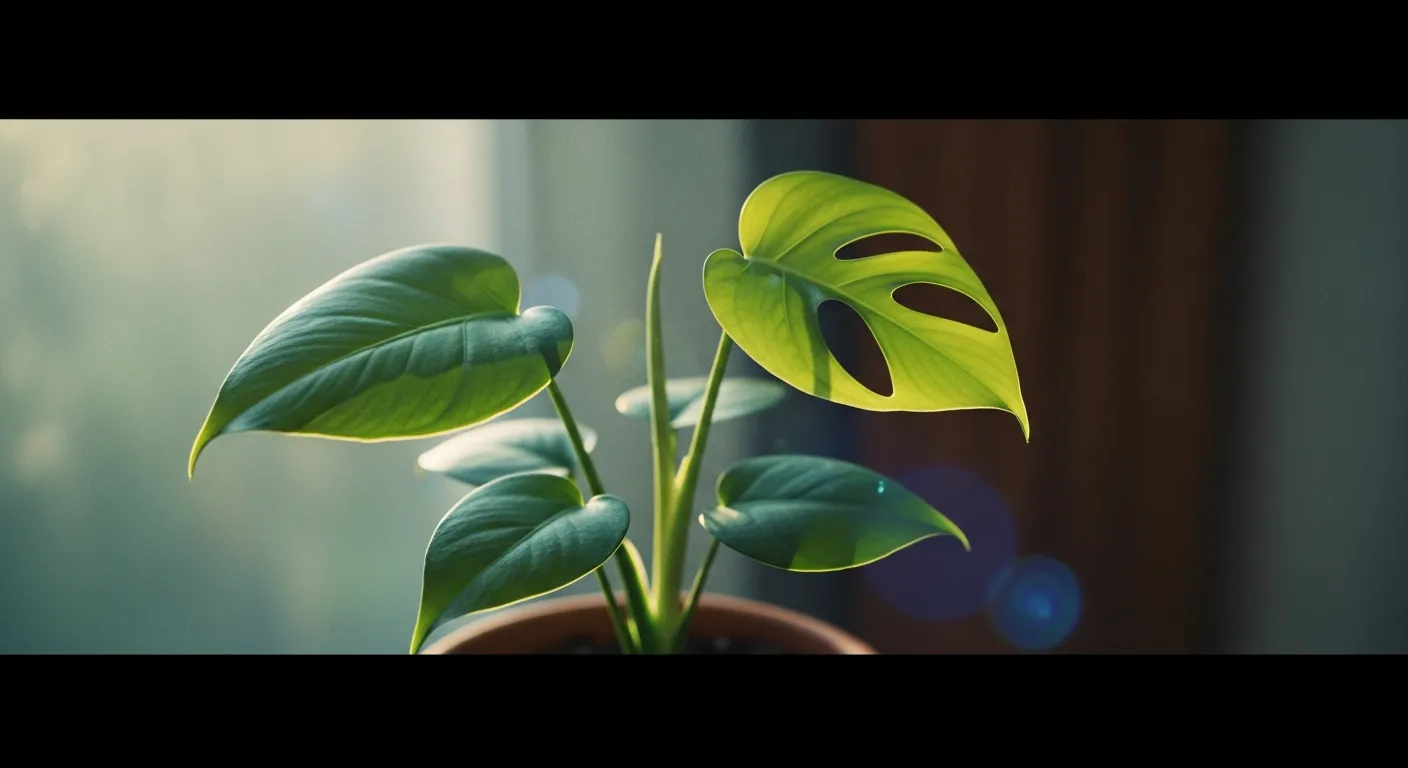
That Solid-Leaf Phase Isn’t a Problem It’s a Feature
New owners panic when they realize their young Monstera deliciosa has no splits. None. Just big, glossy, heart-shaped leaves that look nothing like the dramatic fenestrated specimens all over Instagram. I get messages about this every week. To set the record straight: fenestrations are a maturity trait, not a care reward you can rush.
In the wild, juvenile Monsteras grow along the forest floor in low light, sending out solid leaves to capture as much surface area as possible. Splits only appear once the plant matures and begins climbing toward the canopy, where wind and heavy rain would damage a leaf with no holes to let them pass through. Your plant isn’t broken it’s exactly where it’s supposed to be developmentally.
What does influence when splits appear is the combination of light and the plant’s overall health. A healthy young Monstera in bright, indirect light will typically begin fenestrating somewhere around the fourth to sixth leaf, though I’ve seen some take longer depending on the season they were growing in. The fastest way to delay splits is to keep the plant in low light or to keep it stressed through inconsistent watering.
What Healthy Juvenile Growth Actually Looks Like
During spring and summer, a well-cared-for baby Monstera can push a new leaf every three to four weeks. Each successive leaf should be visibly larger than the last that’s how you know things are moving in the right direction. If the leaves are staying small or coming out the same size as previous ones, that’s usually a light problem.
You’ll also start noticing aerial roots fairly early those thick, brown, cord-like structures that grow from the stem nodes. Mine confused me at first. I kept clipping them off thinking they were dead tissue. Don’t do that. Those roots are the plant’s way of anchoring to a climbing surface, and leaving them intact (or tucking them into the soil or a moss pole) actually supports overall vigor.
Getting the Six Basics Right From the Start
I’ve grown Monsteras in a lot of different setups over the years windowsills, grow tents, shelf corners with supplemental lighting. What I’ve found is that young Monstera deliciosa care really comes down to six variables, and getting even four of them right will produce a healthy plant. Getting all six right will produce a fast, dramatic one.
Light: More Than You Think, Less Than You’d Guess
The sweet spot is a few feet back from a bright window east-facing is ideal for juveniles because the morning sun is gentler. A south or west-facing window works, but position the plant so it gets filtered light rather than a direct beam, especially in summer. Direct afternoon sun will bleach and scorch the leaves within a few days.
Here’s the counterintuitive part: if you’re growing under artificial light, a full-spectrum LED set to 12–14 hours per day often outperforms a mediocre natural light spot. I use a Soltech Solutions pendant grow light over my shelf and the Monsteras there have outgrown the ones in my brightest window by a noticeable margin.
Watering: The Finger Test Beats Any Schedule
Forget watering on a calendar. The only reliable method is checking the soil directly. Push your finger about two inches into the mix if you feel moisture, leave it alone. If it’s dry at that depth, water thoroughly until it runs out the drainage hole, then don’t touch it again until it dries out.
The mistake I made early on was watering on a weekly schedule regardless of what the soil actually felt like. In winter, when growth slows and evaporation drops, that schedule turned into chronic overwatering. Root rot in a small pot moves fast by the time you see yellow leaves, the damage is usually already done. If your pot doesn’t have a drainage hole, repot immediately. No exceptions.
Soil Mix: Standard Potting Soil Is Too Dense
Bagged potting mix from the garden center is formulated to retain moisture, which is the opposite of what young Monsteras need. I mix my own: roughly equal parts potting soil, perlite, and orchid bark. The perlite keeps things airy and the bark creates structure that prevents compaction over time.
If mixing your own feels like too much effort, adding a generous handful of perlite to whatever mix you already have is a solid improvement over using it straight out of the bag.
Humidity: Helpful, But Not the Priority
Monsteras are tropical and do prefer humidity in the 50–60% range, but in my experience, young ones are more tolerant of dry air than people assume as long as watering is dialed in. Crispy leaf edges usually signal inconsistent watering or low humidity together, rarely humidity alone.
If your home runs dry in winter, a small humidifier near your plant cluster is the most effective option. Pebble trays help marginally. Misting directly on leaves isn’t something I do it can encourage fungal issues if the leaves stay wet overnight.
Fertilizing: Less Often Than the Bottle Says
During the growing season roughly April through September a balanced liquid fertilizer diluted to half strength every four to six weeks is plenty. I use Dyna-Gro Foliage Pro, which has an NPK profile suited to foliage plants and hasn’t burned a single plant in my collection.
The common mistake is fertilizing in fall and winter when the plant isn’t actively growing. Unused fertilizer salts accumulate in the soil and can damage roots over time. Stop feeding when you stop seeing new leaves.
Support: Earlier Than You Think
Most people wait until their Monstera is flopping everywhere before adding a support, but putting a small moss pole or bamboo stake in early actually signals the plant to grow upward and produce larger leaves. When a climbing Monstera finds something to grip, it responds by maturing faster that means bigger leaves and earlier fenestrations.
When Fenestrations Finally Appear and How to Speed It Up (Realistically)
I’ll be honest with you: you can’t force fenestrations. You can only create the conditions where they’re most likely to appear on schedule. The plants in my collection that fenestrated earliest were the ones getting the most consistent bright light and the most consistent watering no neglect, no overwatering, no dramatic swings in either direction.
If your young Monstera deliciosa has been putting out four or five leaves with no hint of splits, the first thing I’d check is whether it needs repotting. A rootbound plant in a too-small pot is spending energy managing stress rather than growing new tissue. Look for roots circling the drainage holes or soil that dries out within a day of watering both are signs to size up.
Repotting Without Stressing the Plant
When repotting, go only one pot size up about one to two inches wider in diameter. A pot that’s too large holds more soil than the roots can draw moisture from, which leads to wet pockets and, again, root rot. The best time to repot is early spring, just as the growing season begins and the plant is primed to push new roots into fresh mix.
Handle the roots gently, don’t shake off all the old soil if the plant seems healthy, and avoid fertilizing for about a month after repotting to give any minor root damage time to heal.
Reading Your Plant: What’s Actually Wrong
Young Monsteras are pretty communicative once you know what to look for. The three most common issues yellowing leaves, brown edges, and pest infestations each have pretty distinct causes if you look closely.
Yellow Leaves: Almost Always Moisture-Related
A lower leaf turning yellow and dropping off is normal leaf senescence nothing to worry about. Multiple yellowing leaves across the plant, especially if the soil feels damp, is almost certainly overwatering. Let the soil dry out completely and reduce your watering frequency going forward. If you pull the plant and the roots are brown and mushy rather than white and firm, you’re dealing with root rot and need to trim the damaged roots and repot into fresh, dry mix.
Brown Edges and Crispy Tips
This usually comes from one of three things: low humidity, inconsistent watering (letting the plant get extremely dry between waterings), or tap water with a high fluoride or salt content. If you’ve been watering with tap water and see tip burn specifically, try switching to filtered or rainwater for a few weeks and see if new growth comes in cleaner.
Pests: Act Fast on Thrips and Spider Mites
Spider mites love dry conditions and will set up webbing on the undersides of leaves. Thrips leave silvery streaking or stippling on the leaf surface. Both spread quickly, so the moment you spot signs of either, isolate the plant and treat it with insecticidal soap or diluted neem oil, hitting the undersides of every leaf. Repeat every five to seven days for three weeks the first treatment rarely gets eggs, and skipping follow-ups is how infestations come back.
Propagating Your Plant While It’s Still Young
One advantage of starting with a young Monstera is that it tends to have clean, easy-to-work-with nodes and if you want to multiply your collection or gift cuttings to someone, the process is genuinely simple.
Taking a Node Cutting That Will Actually Root
The critical piece is including a node that slightly raised joint on the stem where leaves and aerial roots emerge. A leaf without a node is decorative at best; it won’t root no matter how long you leave it in water. Cut about an inch below the node with clean scissors or shears, remove any leaf that would sit underwater, and either place the node in a jar of room-temperature water or plant it directly in moist mix.
Water propagation is more satisfying because you can watch roots develop, usually within two to four weeks. Change the water every few days to prevent bacterial buildup. Once roots are an inch or two long, pot up into your aroid mix waiting too long creates water-adapted roots that struggle in soil.
If you want to skip the water stage entirely, plant the cutting directly into a small pot with moist (not wet) aroid mix, bury the node about an inch deep, and cover loosely with a clear plastic bag for the first two weeks to maintain humidity around the cutting. I’ve had slightly better long-term results with soil propagation, though both methods work reliably.
The One Thing That Makes the Biggest Difference
If I had to distill everything above into a single action you could take today: check your soil before you water. Not your calendar. Not a schedule. The soil. That one habit eliminates the most common cause of death in young Monsteras, and it also teaches you to notice the other signals your plant is sending. Everything else light, humidity, fertilizer can be optimized gradually. But getting the watering right is the foundation everything else sits on.
Once you’ve got that down, your next focus should be understanding what your Monstera’s aerial roots are telling you they’re one of the best indicators of whether your plant is ready to start climbing and how close it is to producing its first truly impressive leaf.