Monstera Deliciosa Care Card: Everything This Plant Actually Needs (No Fluff)
Most people kill their Monstera deliciosa not from neglect but from too much love. Overwatering is so common with this plant that I’d estimate it accounts for at least 70% of the “my Monstera is dying” messages I get. I know because I did it myself. My very first one sat in soggy soil for weeks while I congratulated myself on what a devoted plant parent I was. By the time I noticed the yellowing leaves and mushy stem base, the roots were already rotting. That plant didn’t make it. The one sitting behind me right now eight years old, leaves the size of dinner plates taught me everything I’m about to share with you.
What This Plant Actually Is (And Why That Changes How You Care for It)
The Monstera deliciosa the Swiss Cheese Plant is native to the tropical rainforests of Central America, where it spends its life doing something most people don’t realize: climbing. It starts life on the forest floor and spends its whole existence hauling itself up tree trunks toward the canopy. That single fact explains almost everything about how to keep one happy indoors.
It’s technically a hemiepiphyte. It anchors itself to host trees using aerial roots, which is why those thick, brown, rope-like roots dangling off your plant are not a problem to trim off they’re actually a feature worth encouraging. If you give them something to grab onto, your plant will reward you with noticeably larger, more fenestrated leaves.
Why Juvenile Leaves Look Nothing Like Adult Ones
Here’s something that trips up a lot of new owners: young Monsteras produce solid, heart-shaped leaves with zero holes or splits. If you bought a small plant and you’re wondering where the famous fenestrations are, don’t panic they’re coming. The splits and holes are an adaptation that develops as the plant matures and receives adequate light. In the wild, fenestrations help the lower leaves survive strong winds without tearing, and allow light to pass through the canopy to older growth below. Genuinely elegant engineering.
If your mature plant is still producing solid leaves with no splits, that’s almost always a light problem. More on that below.
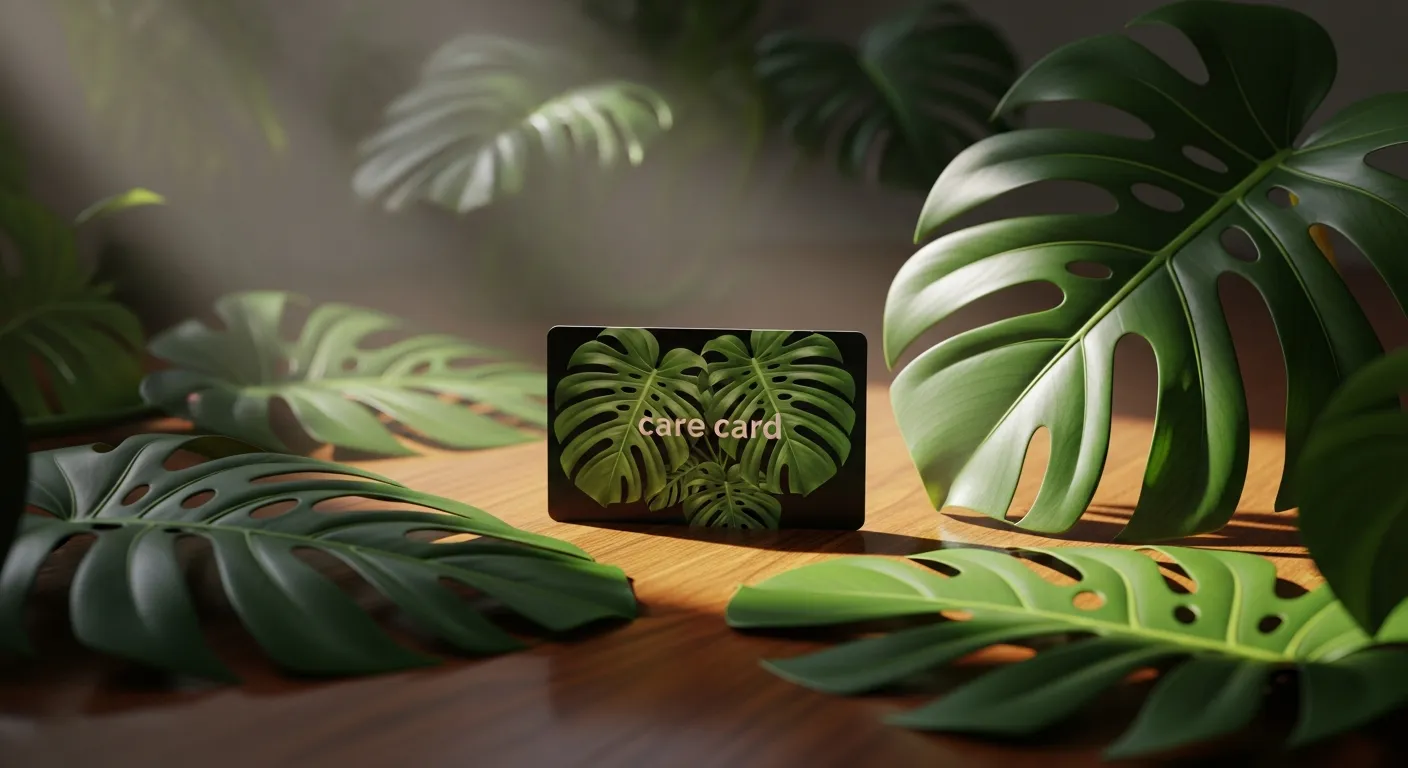
The Monstera Deliciosa Care Card: Quick Reference
Before we get into the details, here’s a snapshot you can refer back to. I’ve kept mine taped inside my plant cabinet for years:
- Light: Bright, indirect light is ideal think a few feet back from an east- or west-facing window. Direct afternoon sun will scorch the leaves badly; I’ve seen it happen in under two weeks on a south-facing sill in summer.
- Water: Water thoroughly only when the top 2–3 inches of soil are dry. Stick your finger in and be honest with yourself. When in doubt, wait another day or two.
- Humidity and Temperature: Aim for 50–60% humidity and temperatures between 65–85°F (18–29°C). Keep it away from heating vents and cold drafts near windows in winter.
- Soil: A chunky, well-draining aroid mix never standard potting soil on its own. I mix equal parts potting soil, perlite, and orchid bark, and it makes a huge difference.
- Fertilizer: A balanced liquid fertilizer at half strength, every 2–4 weeks during spring and summer only. Stop feeding in fall and winter.
Light: The Factor That Controls Everything
If I could only give you one piece of advice from this entire monstera deliciosa care card, it would be this: most indoor spots that feel bright to us are actually quite dim by plant standards. What your eyes perceive as a “well-lit room” might be a fraction of the light intensity that actually reaches a plant sitting six feet from a window.
A north-facing room is almost certainly not bright enough for a Monstera to thrive. I kept one in a north-facing bedroom for a year. It survived, but barely new leaves came out tiny, solid, and spaced far apart on a leggy stem. The moment I moved it to an east-facing window, growth changed within a single growing season.
Reading What Your Plant Is Telling You About Light
Your Monstera will communicate its light situation pretty clearly if you know what to look for. Leggy, stretched-out stems with long gaps between leaves are a sign it’s reaching. New leaves that unfurl without any fenestrations in a plant that’s clearly mature not juvenile almost always means insufficient light. On the other end, yellow or bleached patches on the leaf surface, especially on the side facing the window, are classic sun scorch.
The sweet spot is a few feet back from a bright east or west window, or screened from direct sun in a south-facing room with a sheer curtain. My best-performing specimen sits about four feet from a large east-facing window and produces new leaves with deep, dramatic splits every few weeks in summer.
Watering Without Guessing: How to Get It Right
The finger-in-soil test is your most reliable tool here, and I don’t care how experienced you are I still use it. Push your finger about two inches into the soil. Damp? Leave it. Bone dry all the way down? It’s time. This will vary from once a week in summer to once every two or three weeks in winter, depending on your home’s humidity, pot size, and light levels.
One thing most guides leave out: how you water matters as much as when. When it’s time, water thoroughly and slowly until water runs freely out of the drainage holes. Then discard whatever collects in the saucer leaving your Monstera sitting in standing water is how root rot begins. A pot with no drainage hole is an active hazard for this plant; I won’t use them for Monsteras regardless of how nice they look.
What to Do If You’ve Already Overwatered
If you suspect root rot soft, mushy stem at the base, a sour smell from the soil, yellowing leaves that feel limp rather than crisp act quickly. Pull the plant out of its pot and inspect the roots. Healthy roots are firm and white or light tan. Rotted roots are brown, black, and mushy. Trim all rotted material with clean scissors, let the roots air dry for a few hours, then repot into fresh dry mix. I’ve saved plants this way that looked genuinely terminal. Don’t give up too fast.
Soil and Pot: The Foundation Most People Skip
Standard potting soil is designed to retain moisture which is exactly what you don’t want for a Monstera. Used on its own, it stays wet far too long and creates the low-oxygen, saturated conditions where root rot thrives. The mix I’ve used for years is one part regular potting soil, one part perlite, and one part orchid bark. It drains quickly, stays airy, and still holds enough moisture to keep roots hydrated. I use Espoma Organic Potting Mix as my base because it’s not overly dense to start with, which gives me a better result when I amend it.
For pots: terracotta is genuinely great for Monsteras because it’s porous and helps soil dry out more evenly. Plastic and glazed ceramic hold moisture longer, which isn’t automatically a problem just factor it into how often you water. Whatever you use, drainage holes are non-negotiable.
When to Repot (and When to Resist the Urge)
Repot every one to two years, or when you see roots circling the inside of the pot or emerging from the drainage holes. Choose a new pot that’s only 1–2 inches wider in diameter going up too many sizes at once means a lot of wet soil with no roots in it, which increases rot risk significantly. Spring or early summer is the ideal window, when the plant is actively growing and can recover quickly.
Temperature, Humidity, and the Tropical Vibe Your Plant Craves
Monsteras are comfortable in most homes they tolerate the same temperature ranges humans do. Anything between 65°F and 85°F (18–29°C) works well. What they don’t tolerate is sudden temperature swings. Cold drafts from a cracked window in winter, hot dry air blasting from a heating vent, or sitting on a cold windowsill during a freeze can all cause stress that shows up as brown edges and stunted growth.
Humidity is where a lot of indoor environments fall short. Most homes run at 30–40% relative humidity, especially in winter with the heating on. Monsteras prefer 50–60%. The most effective fix is a small humidifier running nearby I use a Levoit on a timer in my grow room and it’s made a visible difference across all my aroids. Misting helps a little, but it’s not a substitute for consistent ambient humidity. Grouping plants together also raises humidity slightly as they transpire.
Fertilizing: Less Is More Than You Think
During the growing season (spring and summer), feed your Swiss Cheese Plant every two to four weeks with a balanced liquid fertilizer diluted to half the recommended strength. The half-strength part matters full doses can accumulate as mineral salts in the soil and cause root burn, which shows up as crispy brown leaf tips. I learned this the hard way with a fertilizer burn situation that took months to recover from.
Come fall, stop feeding entirely and don’t resume until you see active new growth returning in spring. Pushing nutrients into a plant that’s in its rest period just stresses it. This is one of those counterintuitive moments where doing less is genuinely better for the plant’s long-term health.
Giving Your Monstera Something to Climb
This is the single most underrated piece of advice in any monstera deliciosa care card. These plants are climbers by nature. When you give them a vertical support a moss pole, a coco coir pole, even a simple wooden stake something shifts. The plant starts growing more vigorously upward, and crucially, the new leaves it produces tend to be larger and more fenestrated than they would be trailing horizontally.
The aerial roots will eventually latch onto a moss pole on their own if it stays moist. You can speed this up by gently pressing them against the pole and securing them loosely with soft ties until they attach. It takes a bit of patience but the payoff is a more architecturally interesting plant with dramatically better leaf development.
Troubleshooting Common Problems
Yellow Leaves: The Usual Suspects
A single old leaf turning yellow at the bottom of the plant is normal your Monstera is just shedding older growth. Multiple yellowing leaves across different parts of the plant, though, usually points to overwatering or root rot. Check the soil and roots first. If those look fine, consider whether the plant has been sitting in a cold draft or near an air vent, both of which can cause yellowing too.
Underwatering can also produce yellow leaves, but they’ll typically look more wilted and crispy at the edges rather than soft and dull. If the soil is completely dry and the plant looks deflated, give it a thorough drink and it should perk up within a day.
Spotting and Managing Pests
The most common pests on a Monstera deliciosa are spider mites, mealybugs, and thrips. Mites show up as fine webbing and tiny dots on the undersides of leaves; they thrive in dry, warm conditions, which is one more reason to keep humidity up. Mealybugs look like small tufts of white fluff, usually hiding in the leaf axils and new growth. Thrips are harder to spot look for silver stippling on the leaf surface and tiny black specks.
The moment you spot any of these, isolate the plant to prevent spread to the rest of your collection. For mites and mealybugs, a few rounds of neem oil or insecticidal soap applied every five to seven days usually handles it. Thrips are more stubborn I’ve had the most success with spinosad-based sprays, repeated consistently over three to four weeks.
FAQ: Questions I Actually Get Asked
Why won’t my Monstera’s leaves split?
Almost always a light issue. If the plant is young (under two to three years old), it may just need more time juvenile plants produce solid leaves regardless of conditions. If it’s a mature plant and new leaves are consistently coming out uncut, move it somewhere with more bright indirect light and give it a couple of months to respond.
Can I use tap water?
Usually yes, but if your tap water is heavily chlorinated or hard, letting it sit out overnight before using it helps. Fluoride and mineral buildup over time can cause brown leaf tips if you’re seeing that and your watering habits are solid, switching to filtered or rain water is worth trying.
What’s the difference between Monstera deliciosa and Monstera borsigiana?
The easiest tell is the geniculum the small joint connecting the leaf to the stem. On a true deliciosa, it’s distinctly ruffled and wrinkled. On a borsigiana (a smaller, faster-growing variety often mislabeled as deliciosa), it’s smooth. Care requirements are nearly identical for both, so the difference is mostly relevant if you care about what you’ve actually got and plenty of us do.
How do I get it to climb a moss pole?
Keep the pole consistently moist, especially in the top section where the growing tip is heading. Gently guide the aerial roots toward the pole and use soft plant ties to hold the stem loosely against it. Over a few weeks the roots will begin to attach on their own. If you want to read more about managing those aerial roots, here’s a full guide to Monstera aerial roots that goes deeper on this.
The One Thing That Will Actually Make the Difference
If you take nothing else away from this monstera deliciosa care card, make it this: check the soil before you water. Every single time. Not on a schedule, not because it’s been a week only when the top two to three inches are genuinely dry. That one habit, consistently applied, prevents the overwhelming majority of problems people have with this plant. Everything else is refinement.