How to Grow a Jewel Orchid Cutting (What Actually Works, From Stem to Rooted Plant)
Most people kill jewel orchid cuttings not by neglecting them but by loving them too much. I stuffed my first cutting into a cup of sphagnum moss, misted it twice a day, kept it sitting in a saucer of water, and watched it turn to mush within two weeks. The leaves were perfect when I took it. Two weeks later I had a very expensive pile of rot. The plant doesn’t need constant moisture it needs the right moisture, in the right place, at the right time. That’s the whole game with Ludisia discolor and its relatives, and once you understand it, propagating these plants gets almost embarrassingly easy.
What Makes Jewel Orchids Different From Every Other Orchid You’ve Grown
Here’s the thing that trips people up constantly: jewel orchids aren’t like the orchids you see at the grocery store. Those are Phalaenopsis epiphytes that cling to tree bark with roots that need to dry out between waterings. Jewel orchids are terrestrial. They creep along the floor of tropical forests, threading through leaf litter and decaying organic matter in dappled shade. Their roots expect consistent, moderate moisture and soil contact not the airy bark mixes and bright indirect light that epiphytic orchids prefer.
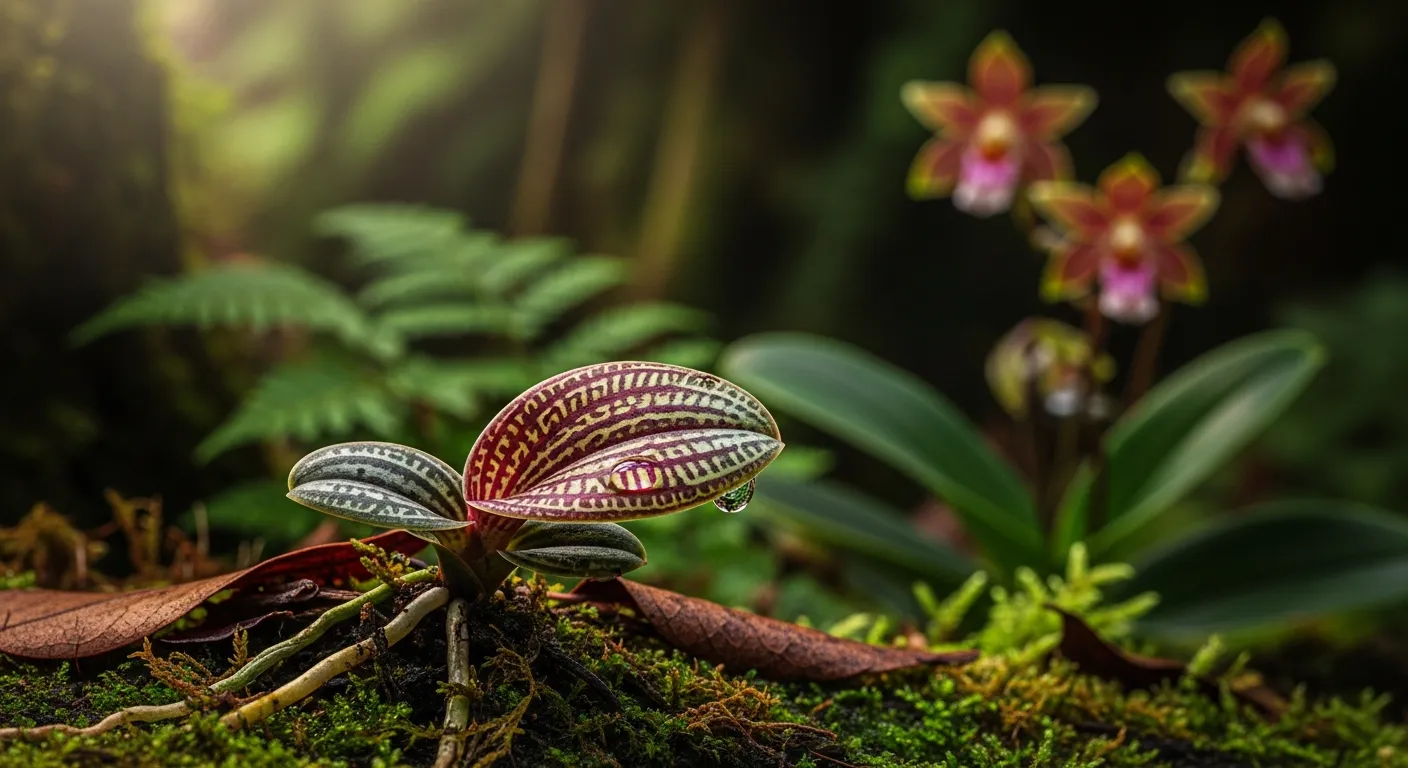
The leaves are the whole point with these plants. Deep burgundy or near-black velvet etched with metallic veins in silver, copper, or electric gold species like Macodes petola look like someone embroidered lightning bolts across living fabric. They do flower, but the blooms are small and subtle. Nobody grows jewel orchids for the flowers. They grow them because the foliage is genuinely unlike anything else in the houseplant world.
And because they creep horizontally rather than growing straight up, they produce stems that are absolutely built for propagation. Every node along a healthy stem is a potential new plant. This growth habit means that learning how to grow a jewel orchid cutting isn’t just a skill it’s essentially how these plants want to reproduce anyway.
Taking the Cutting: The Details That Actually Matter
A clean cut from a healthy stem is the foundation of everything. Sounds obvious, but there are two specific things most guides skip over that make a real difference in results.
Choosing the Right Stem
Pick a stem that has at least three leaves and some visible length between the nodes those small bumps or rings along the stem where leaves emerge and where roots will eventually form. A stem that looks slightly leggy is actually ideal for propagation because it gives you more nodes to work with. Avoid stems that are soft, discolored, or showing any signs of damage. If the mother plant has been recently stressed or is producing new growth, wait a few weeks a plant actively recovering from something will throw less energy into rooting a cutting.
I reach for my Fiskars micro-tip snips for this, sterilized with a quick wipe of isopropyl alcohol beforehand. Any sharp, clean blade works what you’re trying to avoid is a ragged cut that leaves torn tissue, which is slower to heal and more vulnerable to rot.
Where Exactly to Cut
Make your cut about a quarter-inch below a node. That node needs to end up either submerged in water or in contact with your rooting medium it’s where the roots will emerge, not from the cut end itself. This is the counterintuitive part: the cut surface is basically just a wound that needs to heal. The node is where the action happens.
After cutting, remove the lowest leaf if it’s going to end up sitting against or inside your rooting medium. A leaf buried in moist sphagnum or submerged in water will rot, and that rot can travel up the stem fast. Strip it clean, let the cutting sit out for 20–30 minutes to let the cut end dry slightly, then proceed.
Two Methods for Rooting and When to Use Each
Both water rooting and medium rooting work well for jewel orchid cuttings. The honest difference is what happens next, not what happens during rooting.
Water Rooting: Fast, Visible, Slightly Fragile
Place the cutting in a small, clear glass with just enough filtered or rainwater to cover one or two nodes. No leaves touching the water. Set it in bright, indirect light and change the water every two to three days not to keep it clean exactly, but to keep oxygen levels up. Stagnant water grows bacteria, and that’s what kills cuttings, not the water itself.
Roots typically appear within ten to twenty days. Once they’re about an inch long, pot the cutting up. The catch: roots that develop in water are structurally different from soil roots. They’re thinner-walled and adapted to pulling oxygen from water rather than air. Transplanting them into a medium causes a brief shock while the plant transitions you’ll often see a pause in growth or a slightly wilted look for a week or two. That’s normal. Just don’t compound the stress by overwatering during the adjustment period.
Rooting Directly in Sphagnum: Slower Start, Smoother Landing
This is the method I use now for almost all my jewel orchid cuttings, after the rot disaster I mentioned earlier taught me to be more careful. The trick I missed that first time: the sphagnum should be barely damp squeeze a handful and almost nothing should drip out. Wet enough to feel cool and slightly heavy, not wet enough to release moisture under pressure.
Lay the cutting horizontally across the surface and press it down gently so the stem makes contact. A floral pin or a bent paperclip can hold it in place if it keeps lifting. Then cover with a clear plastic bag or a cheap humidity dome and set it in indirect light. Open the dome once a day for a few minutes this isn’t optional. Stagnant, sealed air is where mold gets its foothold.
You won’t see roots, but after three to four weeks you’ll notice the plant starting to produce new leaf growth. That’s your confirmation that roots have formed below. Once new leaves appear, you can start acclimating the cutting to lower humidity by opening the dome for longer periods before removing it entirely. This method produces roots that are already adapted to growing in a medium, so the transition to a permanent pot is completely seamless.
Potting Up and Long-Term Care That Keeps These Plants Actually Thriving
Jewel orchids get mislabeled as fussy. They’re not they’re just specific. Get these four things right and you’ll have a plant that rewards you with new growth consistently.
The Potting Mix That Actually Works
Standard houseplant potting soil is too dense. It holds water in a way that suffocates the root system of a plant that evolved in loose, airy forest duff. The mix I’ve settled on after years of trial and error: roughly equal parts fine orchid bark, perlite, and sphagnum moss, with a small handful of horticultural charcoal mixed through. It drains fast but stays slightly moisture-retentive exactly the texture the plant’s native floor habitat would provide.
Keep jewel orchids in small pots. They’re shallow-rooted creepers, not deep-rooted plants, and a pot that’s too large will hold excess moisture that the roots never reach, which is where rot starts. A four-inch pot is appropriate for most rooted cuttings through their first year.
Light: Dimmer Than You’d Think
Most houseplants described as “low light tolerant” actually want moderate indirect light and just survive in dim conditions. Jewel orchids are one of the few genuinely low-light plants they evolved under dense forest canopy. An east-facing window or a spot several feet back from a south or west window is ideal. The velvety leaf texture actually helps them absorb available light more efficiently, which is part of why they can thrive where other plants struggle.
If the leaves start showing reddish or pale patches, or the metallic veining starts to look washed out, it’s getting too much light. Move it back or filter it with a sheer curtain. Direct sun even for an hour or two will scorch the leaves permanently and those marks don’t fade.
Water and Humidity: The Consistency Principle
Water when the top half-inch of the medium feels just slightly dry to the touch. Not bone dry that causes stress. Not still damp that causes rot. It’s a narrow window, but once you get a feel for it with one plant, it becomes intuitive. I water mine every five to seven days indoors in winter, sometimes every three to four days in summer when the air is drier.
Humidity matters more than most guides admit. Below 50% and these plants start to look stressed leaf edges brown, growth slows, and the velvet texture can look dull and dusty. I keep mine grouped with other humidity-loving plants near a small Levoit humidifier, and the difference compared to plants on a drier shelf across the room is genuinely significant. A pebble tray with water under the pot also helps, though it’s a less consistent solution than a humidifier in a dry climate.
Feeding Without Burning
The root systems of jewel orchids are sensitive to salt buildup from fertilizer. Dilute whatever you’re using to a quarter of the recommended strength and apply it with every second or third watering during the growing season (spring through summer). I use Dyna-Gro Grow for the vegetative phase it’s a complete fertilizer that dissolves cleanly and doesn’t leave residue buildup the way some granular options do. Skip feeding entirely in fall and winter when growth slows.
When Things Go Wrong: Reading What the Plant Is Telling You
Yellow Leaves on a New Cutting
The first place to look is always moisture. Press your finger an inch into the medium if it’s wet all the way through, you’re overwatering. If the cutting is in water, check that no leaves are submerged and that you’ve been changing the water regularly. Yellow leaves on cuttings almost never mean underwatering, because cuttings in a rooting setup are rarely dry. The culprit is almost always too much moisture without enough air circulation.
One less-obvious cause: a leaf that yellows and drops cleanly from the bottom of the stem is often just the plant’s natural response to redirecting resources toward root development. If the upper leaves look healthy and the yellowing is limited to one or two lower leaves, don’t panic. Watch and wait before changing anything.
Don’t Cut the Flower Spike After Blooming
This is worth knowing before your plant ever flowers: after the blooms fade, leave the spike alone. Jewel orchids regularly produce new plantlets tiny offset plants with their own roots from the nodes along spent flower spikes. It’s one of the easiest ways to propagate these plants with zero effort on your part. Only cut the spike once it’s completely brown and dried out. If you’d like more detail on getting your plant to bloom in the first place, the guide to caring for Macodes petola covers light and temperature conditions that trigger flowering in jewel orchids specifically.
Mold on the Sphagnum During Rooting
A small amount of white, fluffy surface mold during the humidity-dome rooting phase is common and mostly harmless. Increase your daily ventilation time, reduce moisture slightly, and it usually clears up on its own. Black or gray mold that spreads rapidly is a different situation that typically means the medium is too wet and you may need to start fresh with a drier moss setup.
The One Thing That Changes Everything
If I had to hand someone a single rule for successfully growing jewel orchid cuttings, it would be this: treat moisture as your primary variable and adjust everything else around it. The cutting in the wrong light will still root. The cutting in the wrong pot size will still root. The cutting sitting in soggy sphagnum or stagnant water will not. Get the moisture right barely damp medium, fresh water changed regularly, no leaves submerged and these plants are remarkably forgiving of everything else. Start with that one adjustment today and your results will be meaningfully different.